Web Services Installation and Configuration
Objective: Gain an understanding of how to install and configure Web Services in myData.
Install/Update Web Services
Please ensure IIS is running and has been configured before installing. Refer to IIS Configuration below.
Installing/Updating
- Open installer
- Click next and accept our terms and conditions
- Click next again
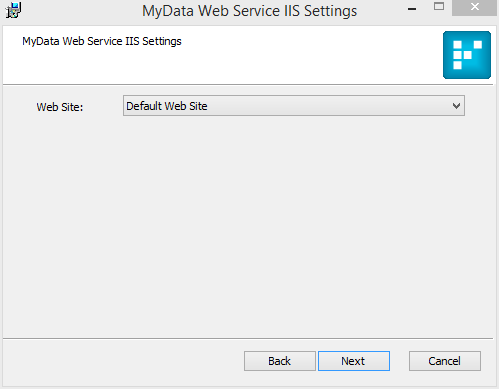
If you click on the dropdown menu and nothing appears, press the arrow (down) key on the keyboard to obtain 'Default Web Site'.
Choose install location
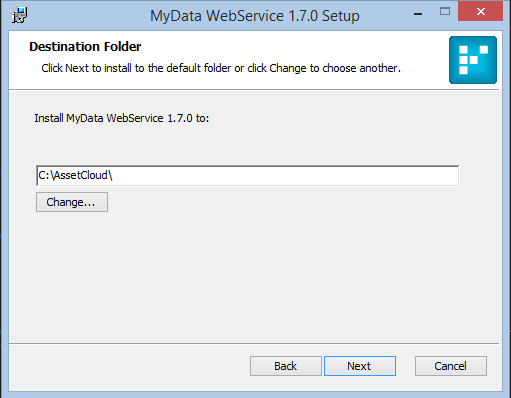
Clicking next and install will now install myData web services.
Configuring
Setup web services configuration file
- Open Windows Explorer and navigate to C:\AssetCloud\MyDataWebService\App_Data
- Using the sample_instances.config create or modify instances.config

- Open file instances.config
- Modify the URL and Instance ID and Physical location as required
Notes
- ID = Identifier of the webservice instance
- URL = IIS instance name
- PhysicalDirectoryLocation = install directory of webservices
Sample String
<?xml version="1.0" encoding="utf-8"?>
<InstanceConfiguration xmlns:xsi="http://www.w3.org/2001/XMLSchema-instance" xmlns:xsd="
http://www.w3.org/2001/XMLSchema">
<Instance ID="1" Url="/MyDataWebService" PhysicalDirectoryLocation="C:\AssetCloud\MyDataWebService\"/>
</InstanceConfiguration>

Add myData configuration file details:
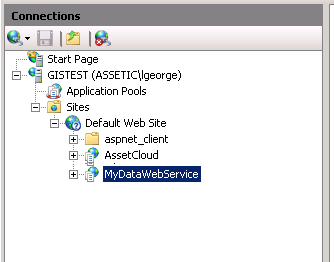
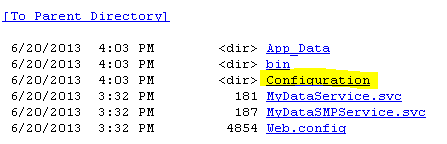
In IIS under Default Web Site, highlight MyDataWebService and hit Browse to open this in a separate web page

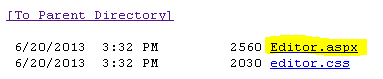
- Click on ‘Configuration’ then ‘Editor.aspx’
- Enter the connection details for the database (watch out for extra spaces)
- This can be a UNC path and the same configuration file as the myData instance you
need to connect to i.e. myDataProduction
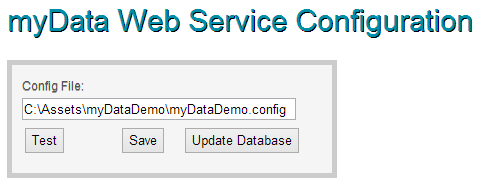
- The Config File path refers to the full path (can be UNC path) to the myData global
configuration file. - It is case sensitive
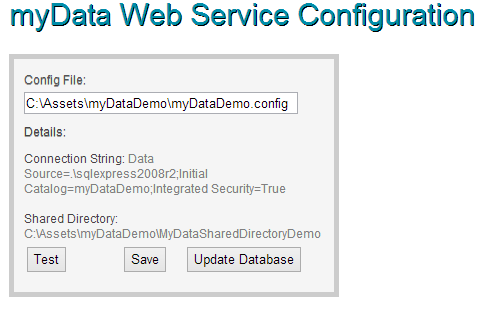
- Use Test connection button to verify the Web Services can correctly read the configuration
file and access the database.
- Save the connection
- Click Update Database
- This runs any patches and creates the table structure specific to web services
Configure the Asset Categories and Fields to expose to Web Services
Field Schema / Field Descriptor configuration
This is primarily for advanced configuration since a user via myData can allow all fields in read-only or full access mode.
myData configuration
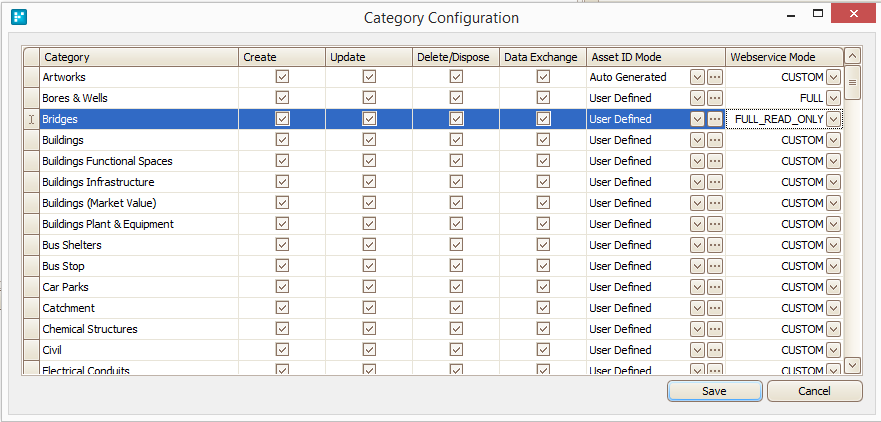
Under Tools select Category configuration
For each asset category, you have 3 options for web service interaction
- Custom
- Web services will use a field schema file to determine what access it has
- Full
- Web services will have full read/write access to all fields in the checked category
- Full read-only
- Web services will have full read-only access to all fields in the checked category
Creation Field Schema file
In order for myData web services to recognise the field schema file the myData category must be configured for custom web service mode
- Open MyData
- Go to Tools>Field Schema Generator
- Select the desired Asset Category from the drop-down list
- Select each field you want to enable for the Web Service by placing a tick in the corresponding checkbox
As a minimum, the Asset ID, Asset Name, Segment/Group Name, Hierarchy, Zone, Locality and Suburb must be selected in any schema file.
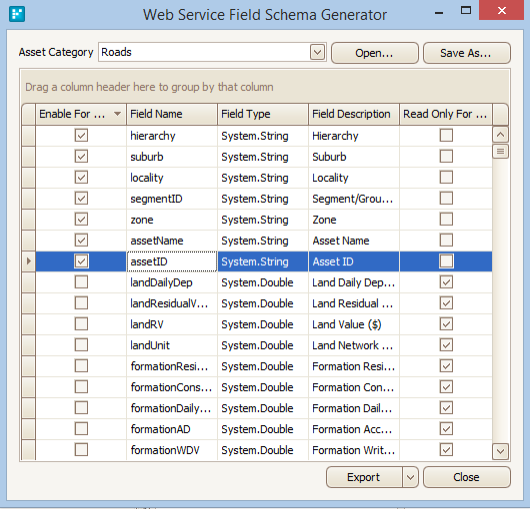
- If you require any of these fields to be Read Only in the Web Service, place a tick in the corresponding checkbox
- Once complete, hit Save As...
- Save the XML file in the following folder (ensure you retain the default filename): C:\AssetCloud\MyDataWebService\App_Data\Instances\Instance_1\Descriptors\Fields
- Do this for every Asset Category you want to enable
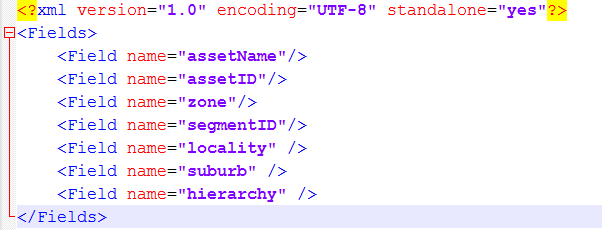
Sample file generation
Extension files behavior
- To determine schema / fields to be exposed to myData webservice : myData --> Category Config --> Full / full read only / custom.
If custom is selected: need to place the generated xml schema files under :
MyDataWebService\App_Data\Instances\Instance_x\Descriptors\Fields\Asset.xxx.xml per asset category and can mark it 'Read Only'.
Only fields listed in the XML files are exposed in the webservice calls. - To override myData schema behaviour (ie: make it read-only, relabel field name or add extra validation) :
Applicable to myData application and webservice, place the override schema files under :
sharedDirectory\XML\GUI\Extension\Asset.xxx.xml (per asset category)
Applicable to myData webservice only and to override sharedDirectory schema extension behaviour, place the override schema files under:
MyDataWebService\App_Data\Instances\Instance_x\XML\GUI\Extension\Asset.xxx.xml (available since 1.6.11 and1.7.0)
XML extensions are applied in the following order:
Base Metadata -> Shared Directory Extension -> AppData Extension
Running multiple Web Service instances
Web Services can be set up to provide multiple instances or web services from the same base URL.
Same install directory multiple instances
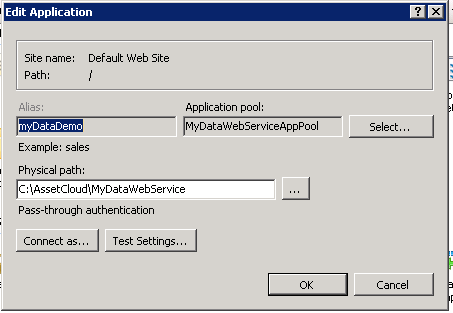
- Open IIS Configuration
- Add a new application
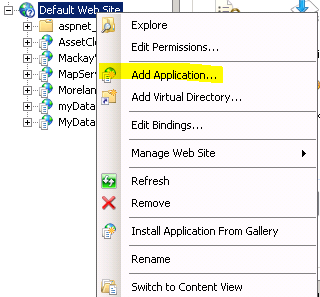
- Give the application a new alias
- Keep the same physical path as the standard install
- Keep the same application pool as the standard install
Copy instance folder
Copy and rename instance 1 to another instance folder with the next number in the sequence.

Open and edit the instance configuration
Add a new line into the file
- Ensure ID matches the folder Id number
- URL matches the alias specified earlier
- Physical location matches the default path
Multiple install directories
Choose an alternate install path while following Install/Update Web Services instructions at the top of this article.
IIS Configuration
The following section outlines the requirements and steps for ensuring IIS is configured properly to support .net web services such as Assetic myData web services.
Software Prerequisites
Web Server
- Microsoft IIS 7.5 (with CGI module) (minimum version)
- Microsoft .NET 4.5 Framework (minimum version)
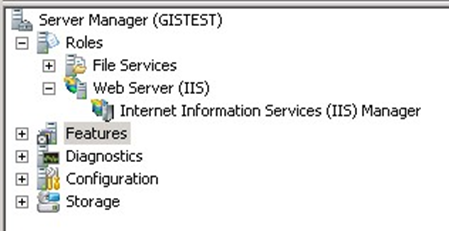
IIS on Windows Server
Roles
Setup a new Role for IIS
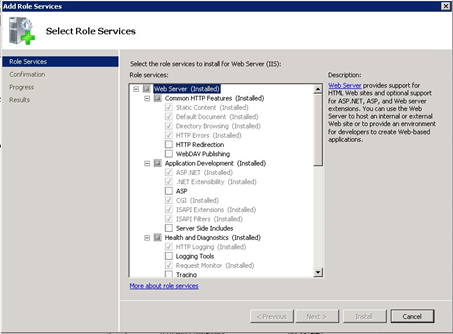
Configure services to include the below
- Expand Common HTTP Features, and then select the Static Content
- Expand Application Development Features, and select the following features:
- .NET Extensibility
- ASP.NET
- ISAPI Extensions
- ISAPI Filters
- CGI
- Expand Security, and then select the following features:
- Request Filtering
- Windows Authentication
- expand Web Management Tools, and then select IIS Management Console.
Features
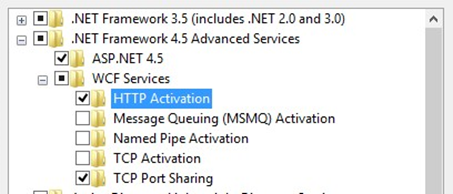
- Expand .NET Framework 4.5
- Expand WCF Services
- HTTP Activation
ASP.net
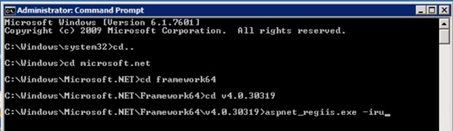
Ensure the ASP.Net extension has registered correctly and is visible in the IIS application pools
If it has been added to IIS and is not visible the running this command in command prompt (as an Administrator) can help fix bad registration issues:
%windir%\Microsoft.NET\Framework64\v4.0.30319\aspnet_regiis.exe -i
IIS on Windows Desktop
ASP.net
Ensure the following features are turned on in IIS ASP.net
- Expand .NET Framework 4.5
- HTTP Activation
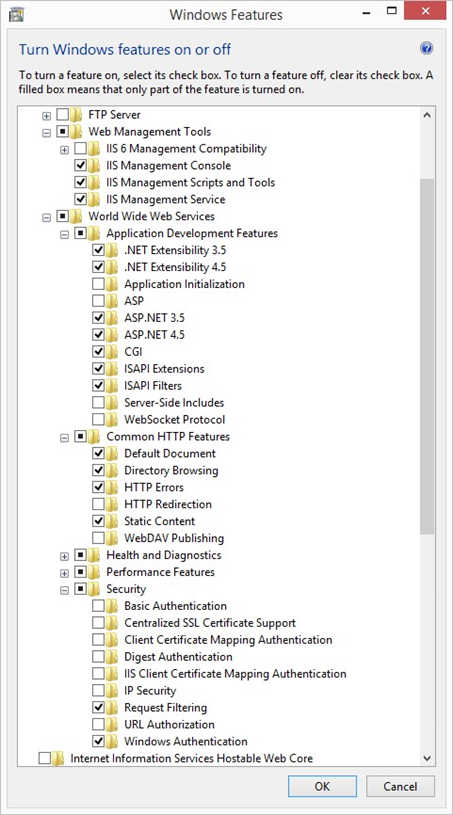
Windows Features
Open "Windows Features"
- Expand Application Development Features, and select the following features:
.NET Extensibility
ASP.NET
ISAPI Extensions
ISAPI Filters
CGI
- Expand Security, and then select the following features:
Request Filtering
Windows Authentication
- Expand Common HTTP Features, and then select the Static Content
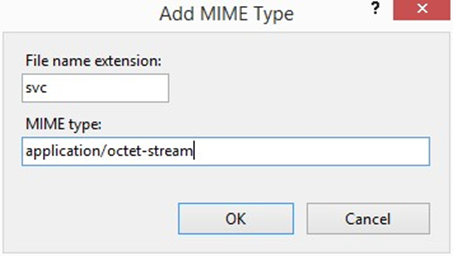
SVC MIME Type
In IIS ensure the MIME type for the 'csv' extension is defined
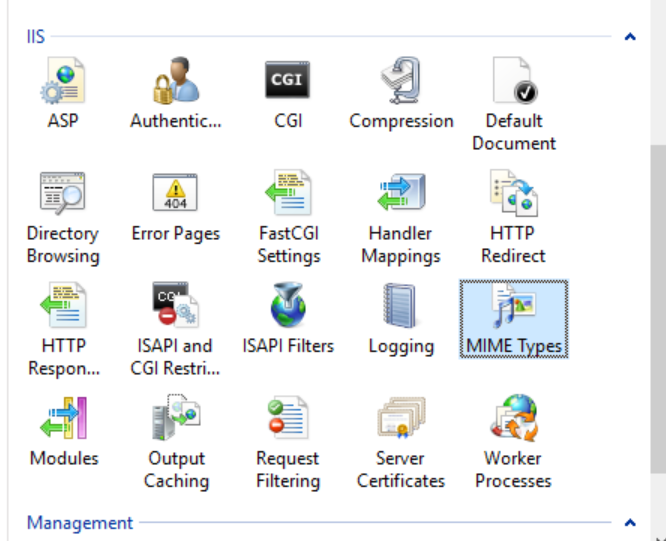
If the svc extension is not listed then add with the following value: "application/octet-stream"